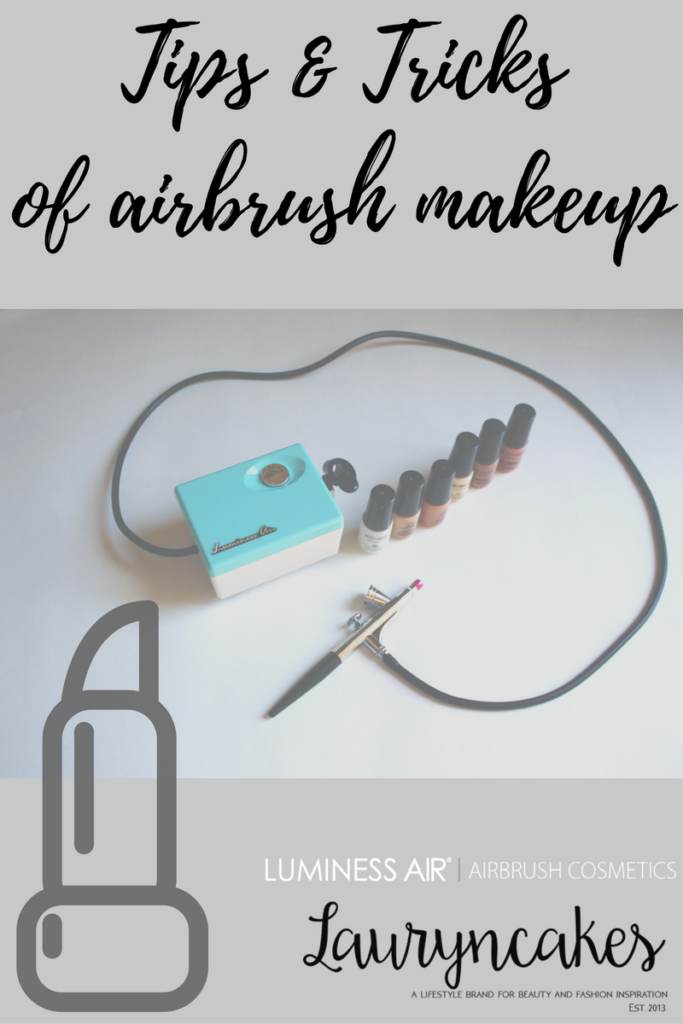
I hear this time and time again, “You use airbrush makeup?! Is it hard to learn?”
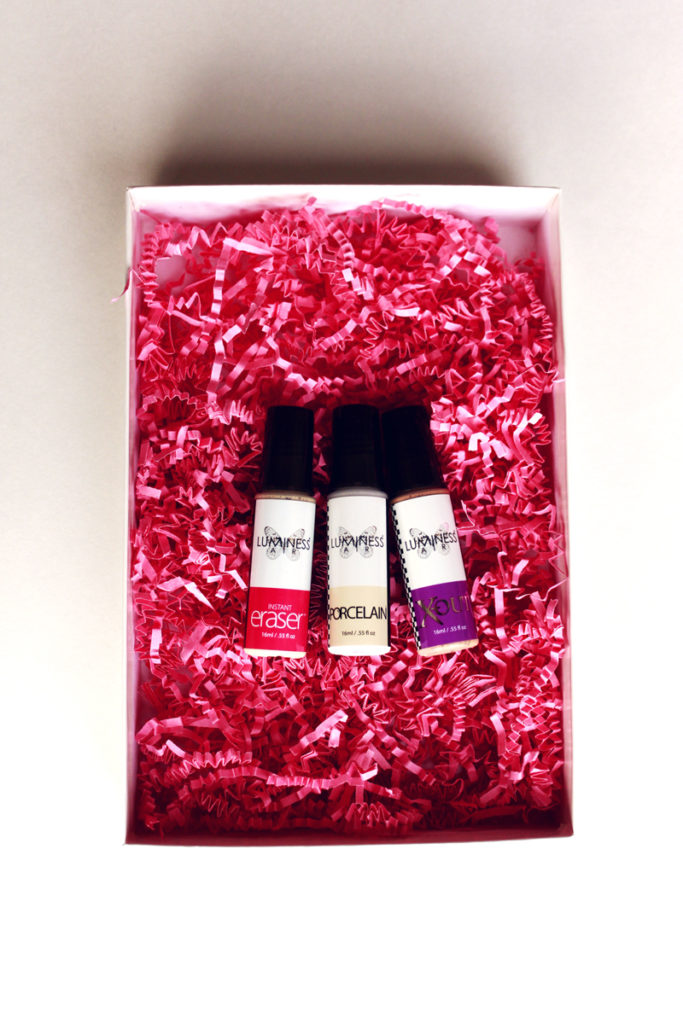
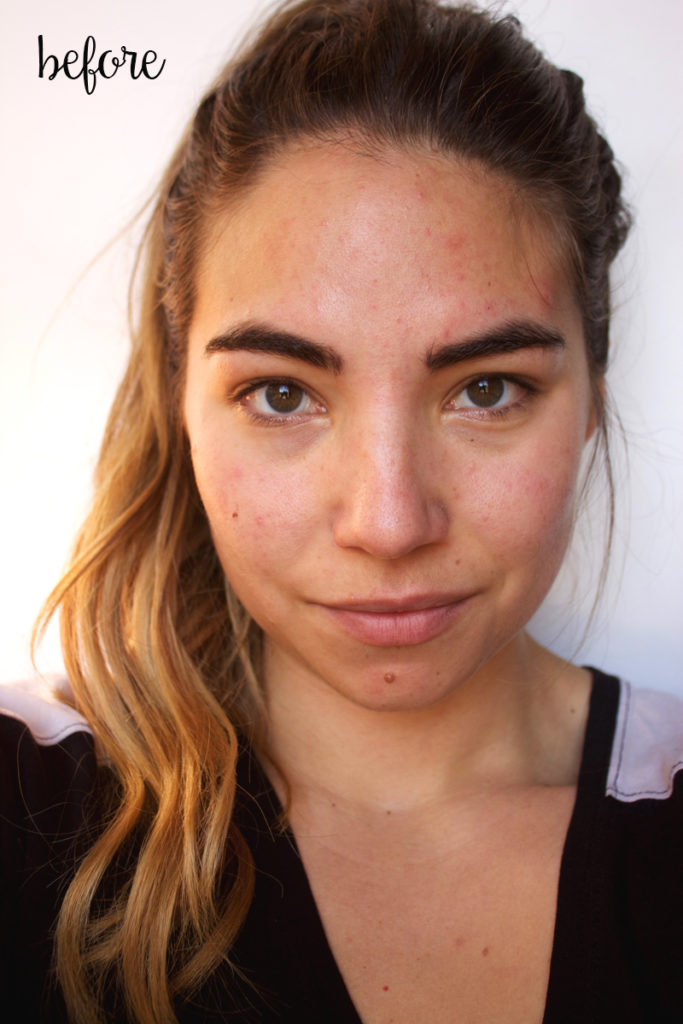
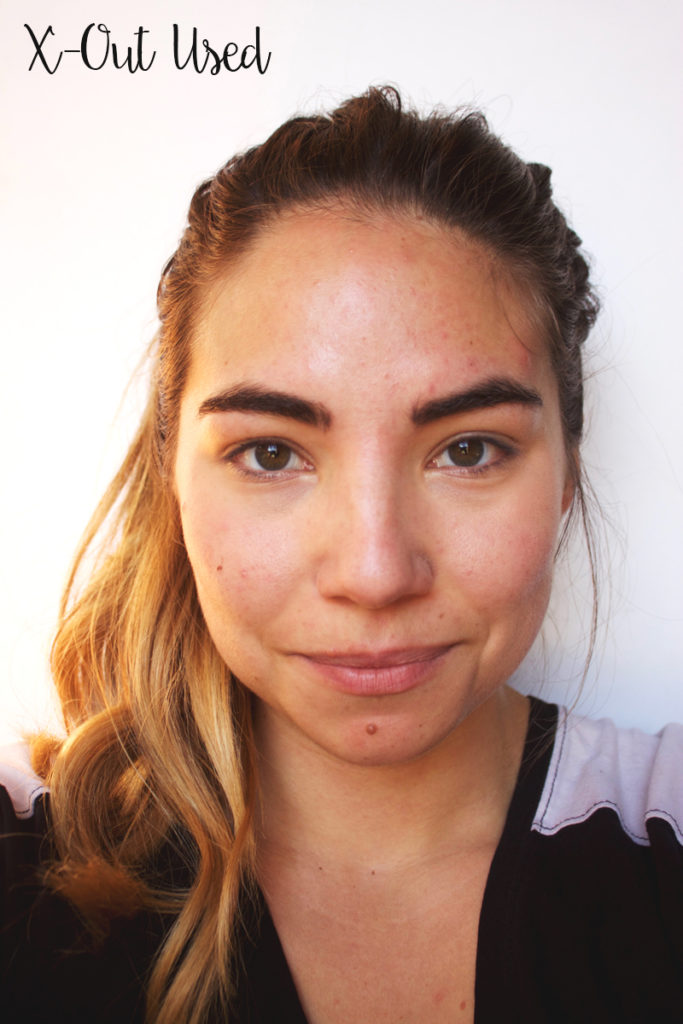
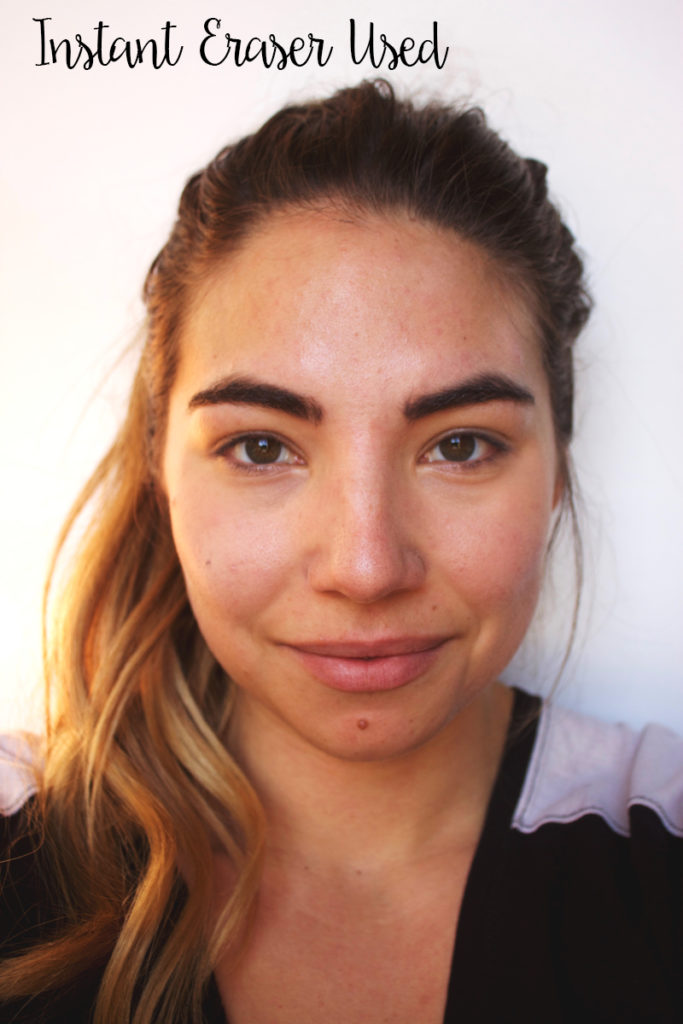
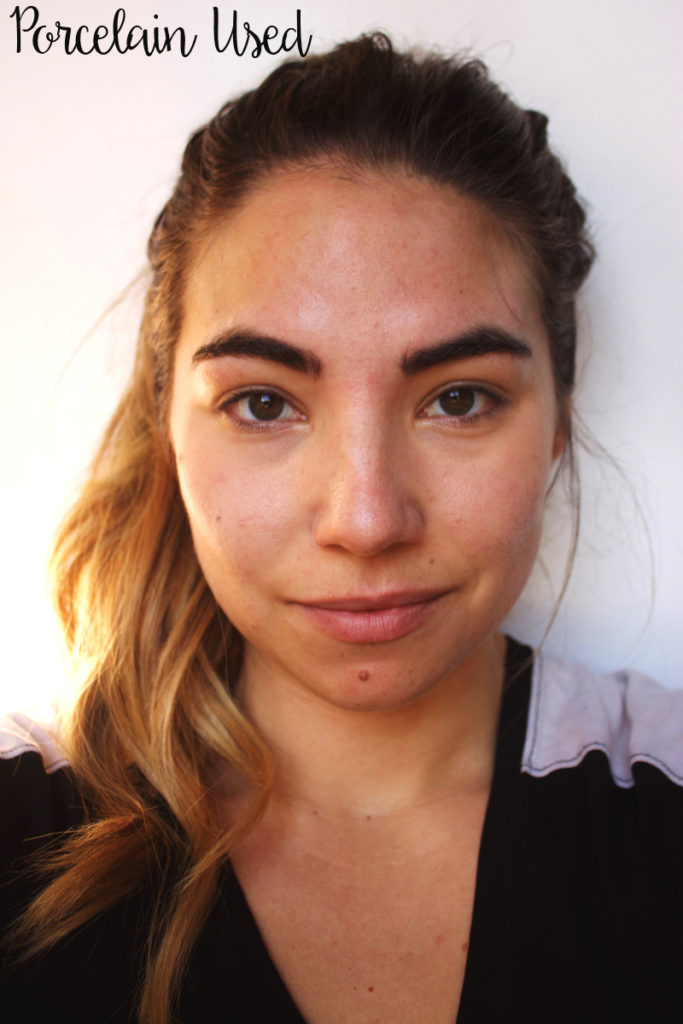
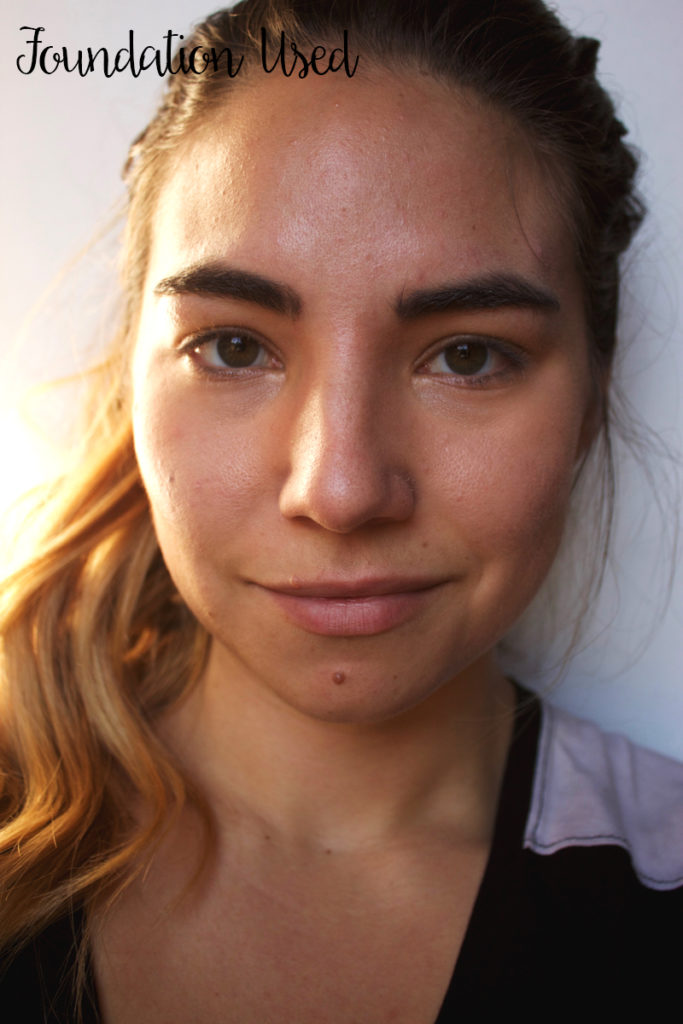
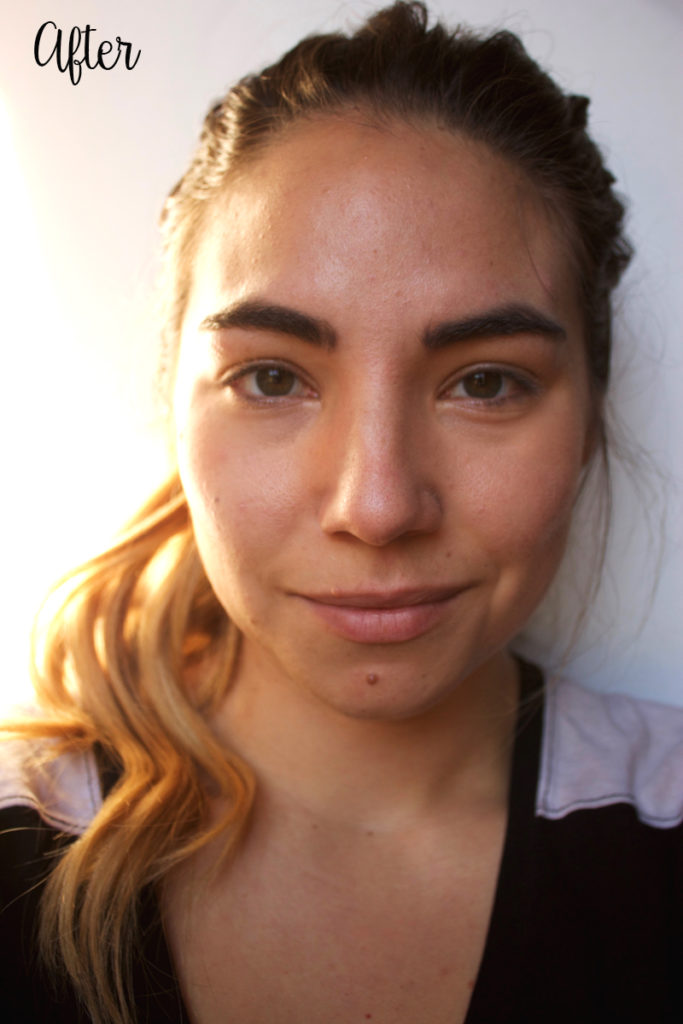
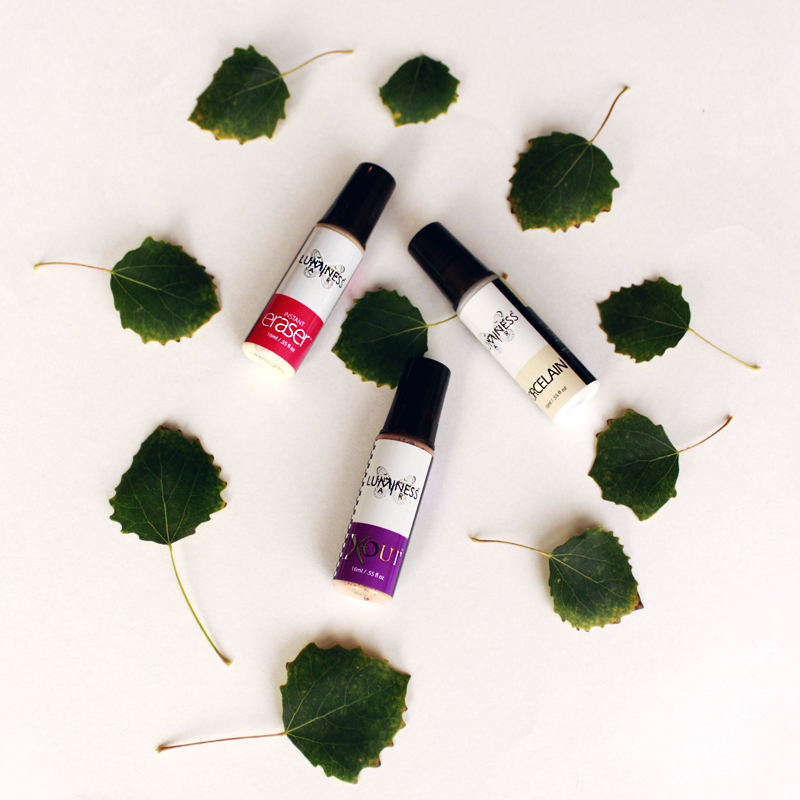
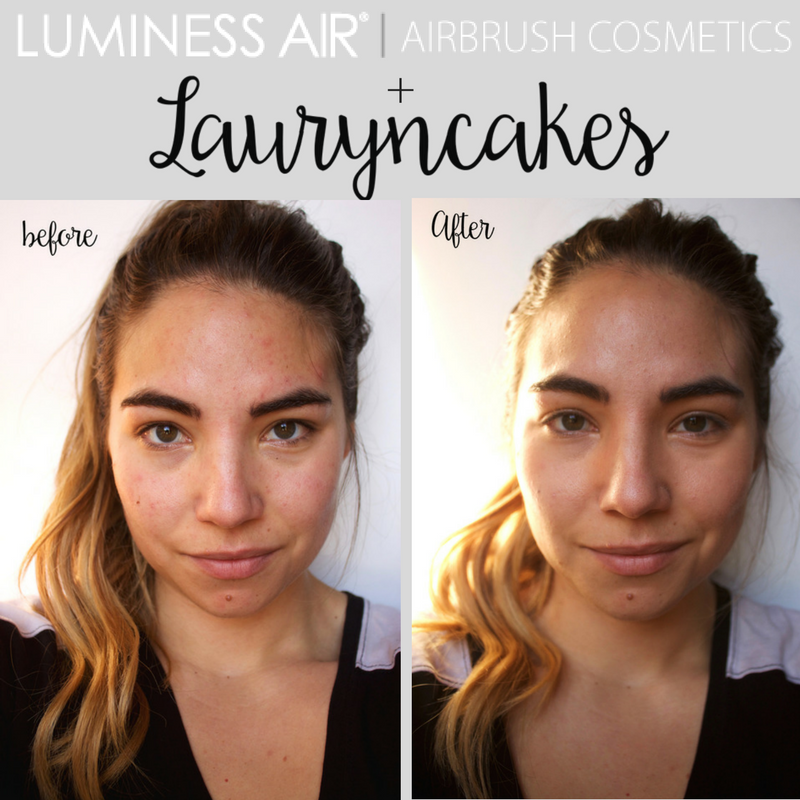
The answer is NO! I use LUMINESS AIR at home all the time. In fact, I find it easier than regular application of makeup. Another common idea about airbrush is that is leaves a cake-y effect, and this is totally not true! Airbrush can be as little or as much as you want it to be. I tend to keep it on the more natural side of makeup just so that I don’t feel like a walking mask. From this before and after shoot using the Airbrush Essentials (X-Out, Porcelain, and Instant Eraser) and some airbrush foundation, you’ll see just how much it can change the look of skin tone and clarity! Please know that other than slight editing for the lighting, these photos are untouched!
1. The BEFORE Photo: A little bit scary. I had stressed a lot last week and my skin suffers when that happens. Take note of the breakout on my left side of the forehead (your right). You’ll be amazed! Also notice the circles under my eyes and the uneven skin tone.
2. The first step I used the X-Out for my under eye circles. This is to get rid of the purple-effect that can happen to us adult that don’t sleep enough. Go ahead, scroll back up to the before photo and remember that I didn’t touch-up my under-eyes! The slight purple and yellow yellow coloring that looks like bruising it gone!
3. This is by far my favorite of the three LUMINESS AIR Airbrush Essentials! The Instant Eraser is perfect for those of us that get red from breakouts and irritation. Did you see the pimples on my left forehead before? Do you see them now?! This stuff is magic and makes pimples disappear (aka be hidden) like Houdini!
4. The Porcelain is just the thing to use for a clean palette to create art with! It evens the skin tone of the entire face and gives a dewy, supple, natural look to your face to set it for the foundation!
5. The foundation isn’t part of the airbrush essentials trio I was introducing to you today, but I figured I would show you just how natural the airbrush makeup can look!
6. To complete the look, I added a slight highlighter on the top of my cheekbones and the triangle at the top of my nose, bronzer under my cheekbones, on my jaw line, on my forehead line, and on the sides of my nose. The final touch was a slightly pink airbrush blush added to the apples of my cheeks!
What do you think? Can you see the difference? Would you try airbrush makeup essentials at home?

Elise Von E
October 25, 2016I need this in my life immediately!! Yes, I would try it for SURE!!
xx, Elise
http://www.sparkleandslippers.blogspot.com
lauryncakes
October 27, 2016You would love it! I wasn nervous at first, and now I am convinced!
Kelly
October 25, 2016So cool, definitely need to try this!
xo,
Kelly @Birdieshoots
http://www.birdieshoots.com
lauryncakes
October 27, 2016Yes you do! Their products are amazing.
Lindsay Rutland
October 26, 2016I've always wanted to try airbrush makeup! It definitely looks really natural and pretty on you
lauryncakes
October 27, 2016Thank you! I like that you can layer it to look natural, or done up!
Unknown
November 6, 2016I want to try airbrush make up. It seems like it would be faster and less of a hassle of cleaning brushes etc.
lauryncakes
November 13, 2016It is so much faster! Although, you do have to clean out the airbrush each use. I learned that one the hard way with my first machine 🙁