DIY Denim Jacket Tutorial
This year was Lauryncakes (the blog) third anniversary! With so many highs and lows, and goals met, and goals created, I wanted to throw a party for some of the people that have been by my side this year.
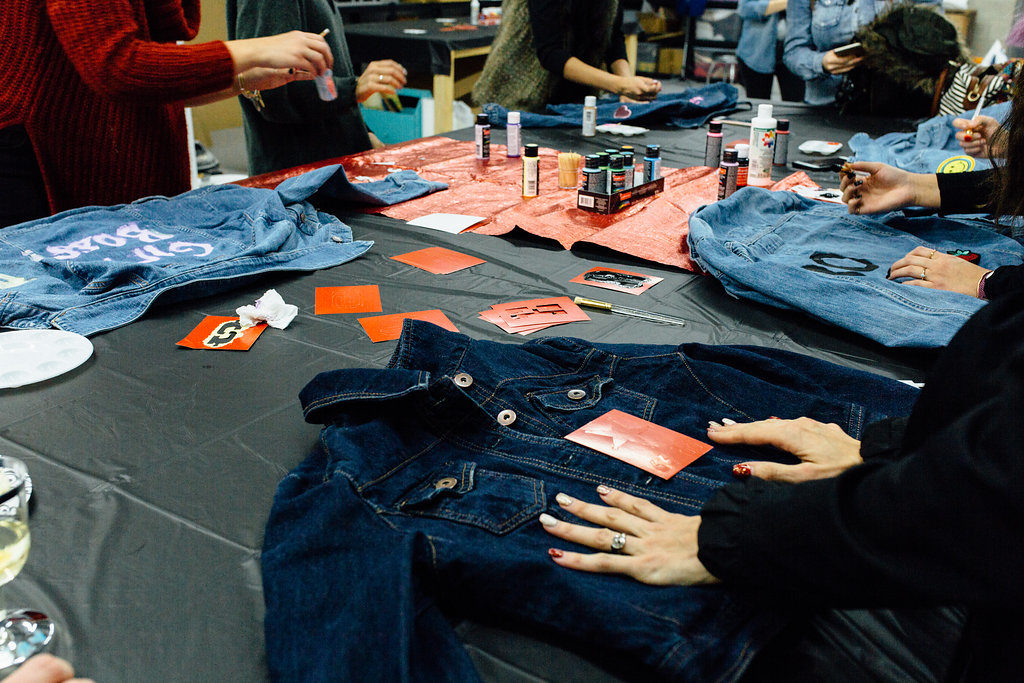
After a lot of thought, one day it hit me, I wanted to do a custom jacket party! I was dying to paint and add patches to my own thrifted denim coat, so I might as well have everyone join in!
What you need:
- acrylic paint
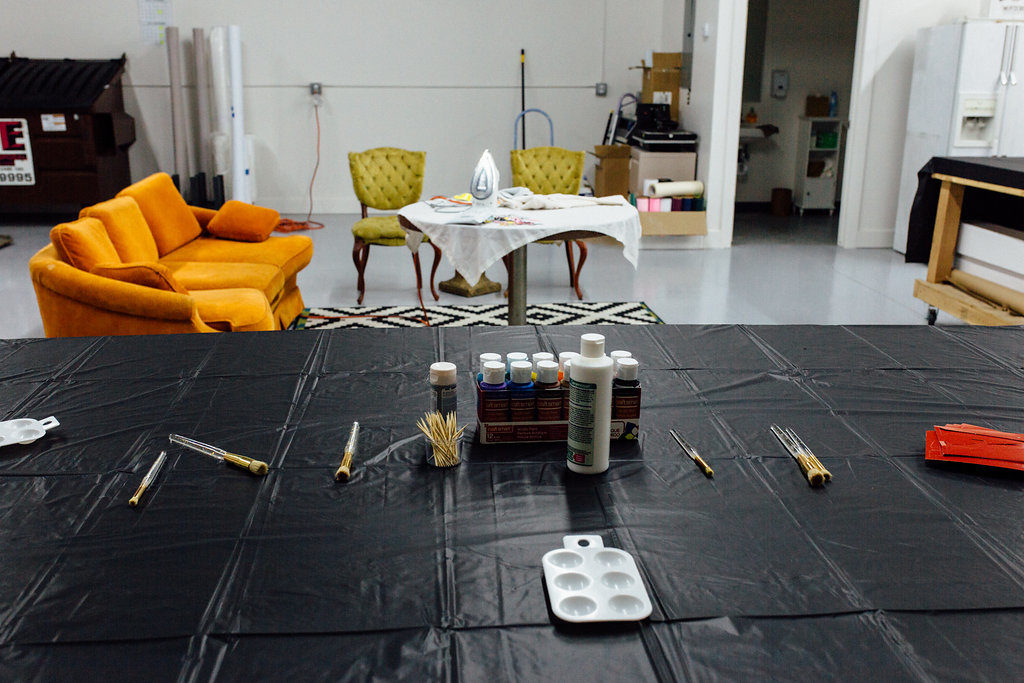
- paint medium
- paint palette
- washed denim jacket
- stipple brush
- stencil
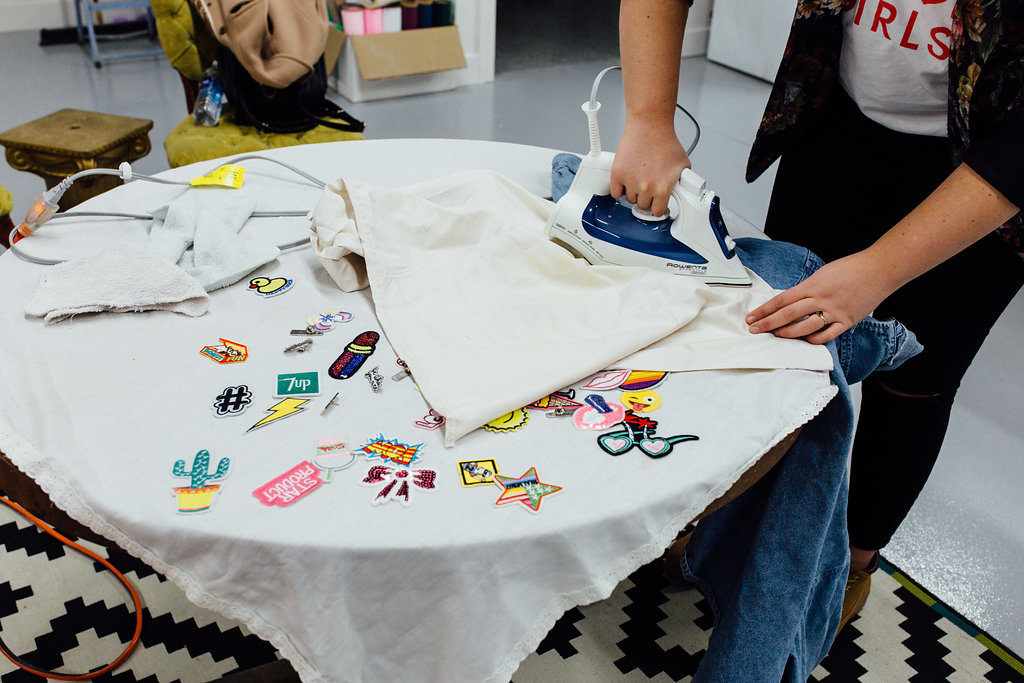
- iron
- iron on patches
- old cloth
How to Customize a Denim Jacket
- Start by washing your denim jacket. DO NOT use fabric softener as it will impede the paint from sticking to the jacket.
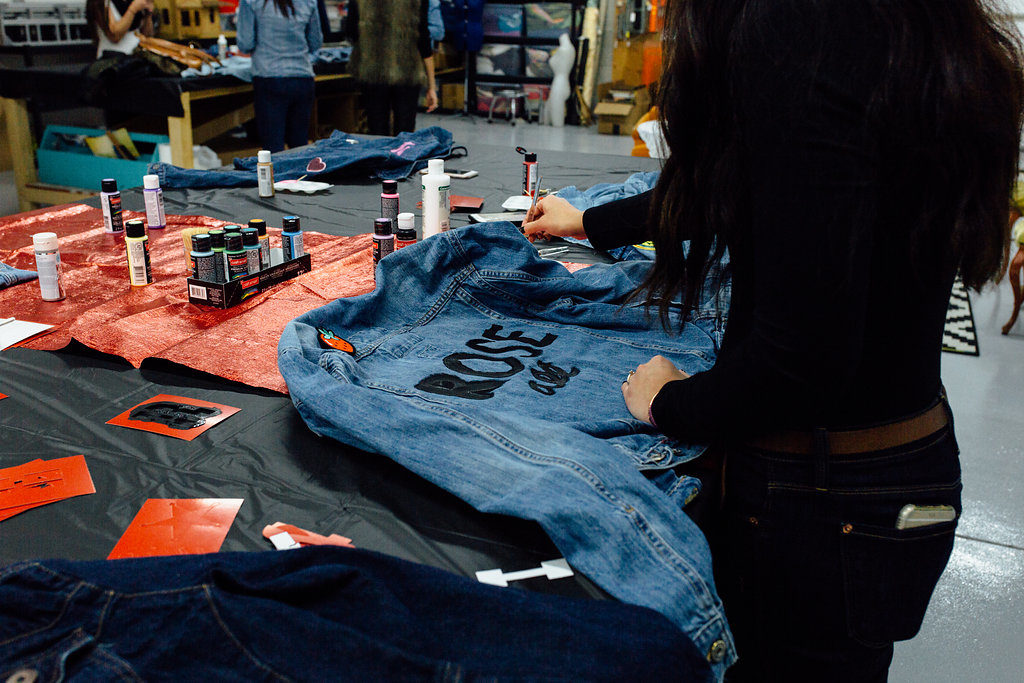
- Figure out what you want to write on your jacket. You can either use a pre-made stencil, make your own stencil, or freehand (I freehand the writing, and I am no artist!)
- Mix one part acrylic paint with one part paint medium. This is to thin the acrylic paint. Without the medium, the paint dries this and flakes off.
- Use a stipple brush to paint onto the jacket. The correct way to paint you should use is picking the brush up and bringing it back down for each stroke in a “sponging” motion. If you do forward and backward strokes, the paint isn’t as vivid.
- Let your jacket dry for 30 min to an hour.
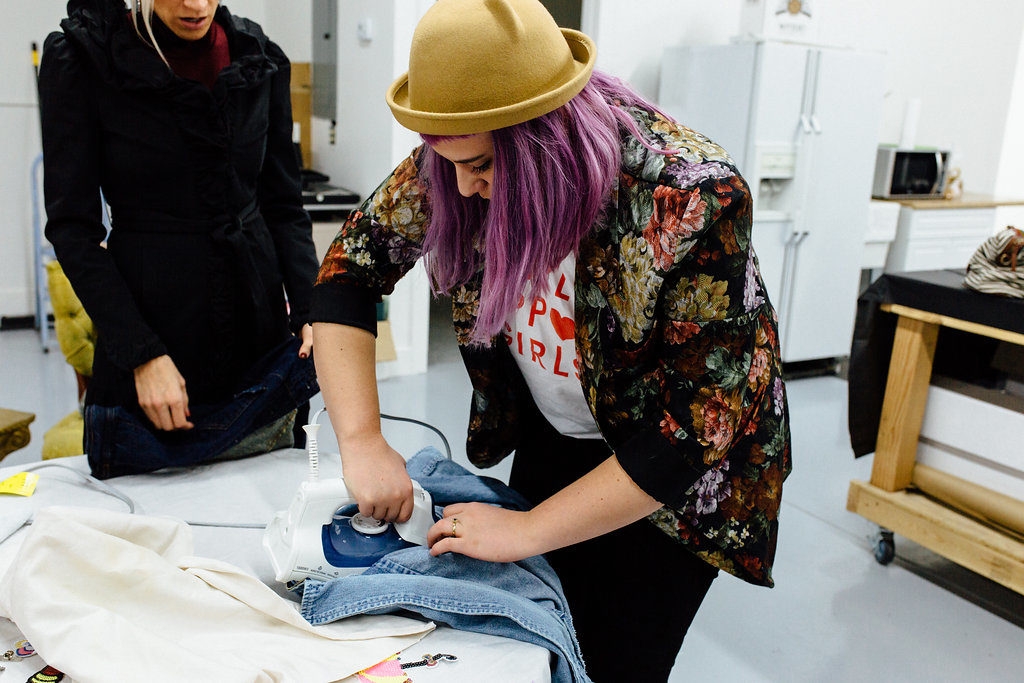
- Turn iron on to low heat
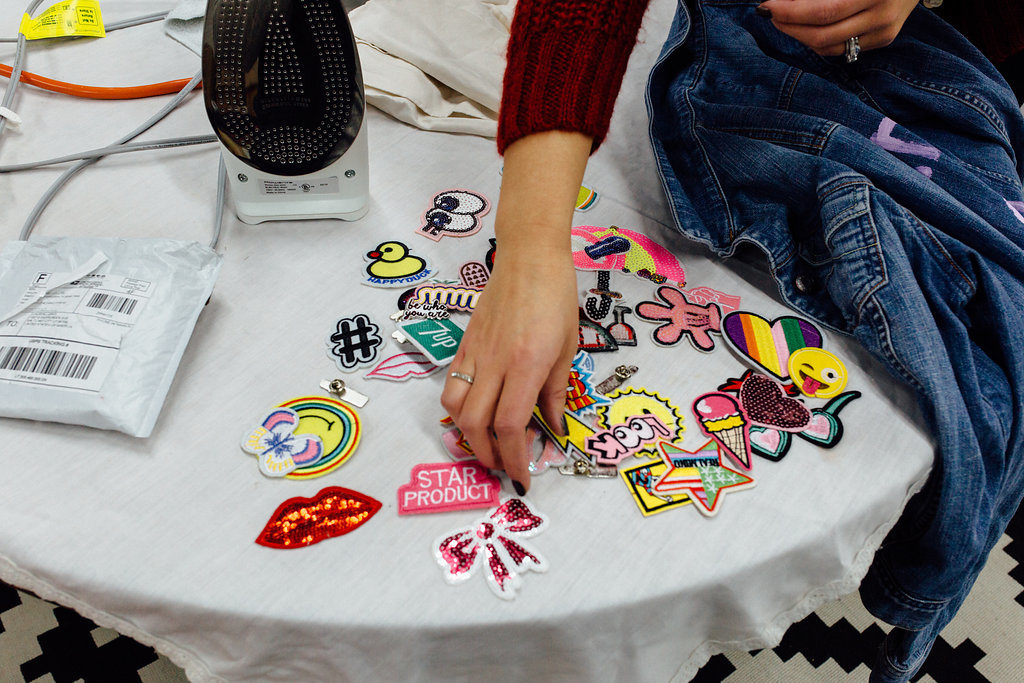
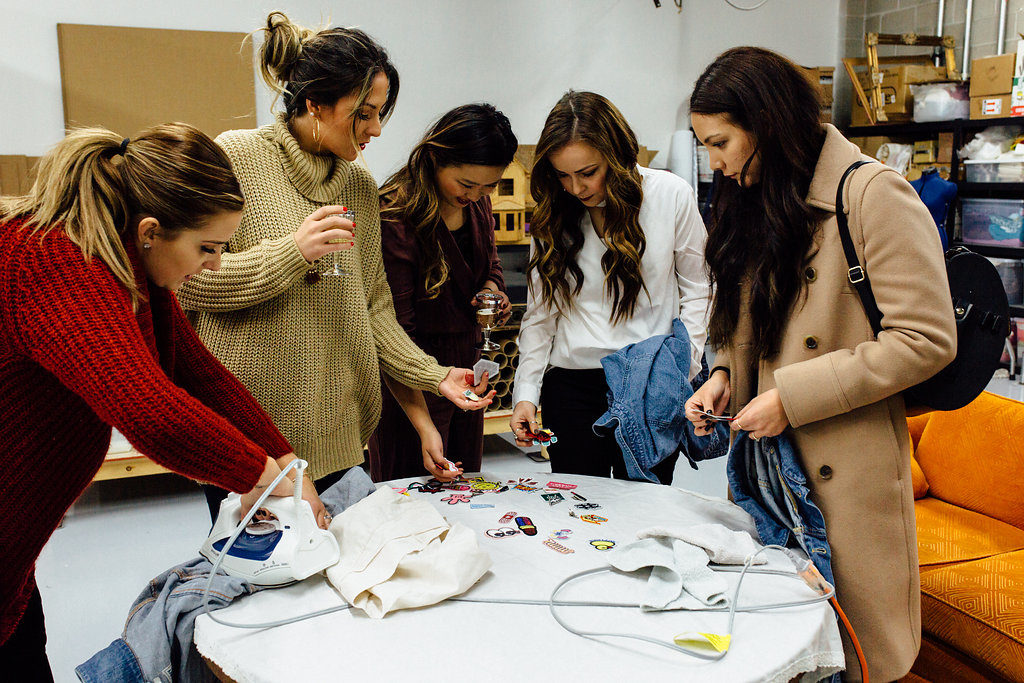
- Pick out patches. Leave the residue on the back of the patches, as it is the adhesive!
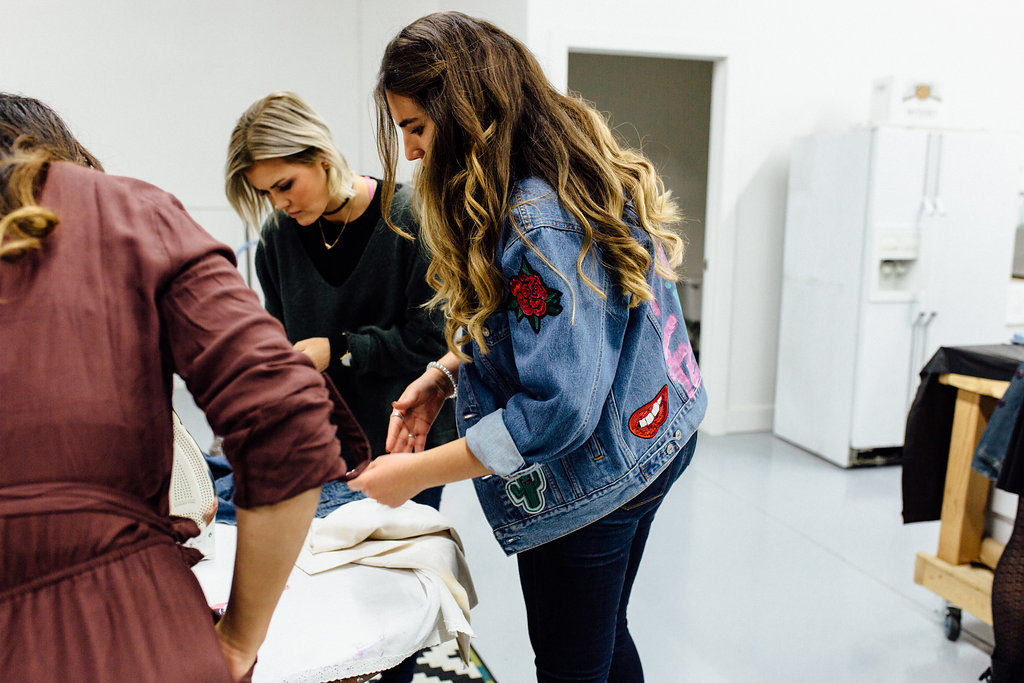
- Put patch on designated area, place thin cloth over the patch, and iron for 45 seconds. Pull jacket inside out and iron over the backside where the patch would be for 45 seconds.
- Add some pins, and you’re done!
About my DIY Denim Jacket Party
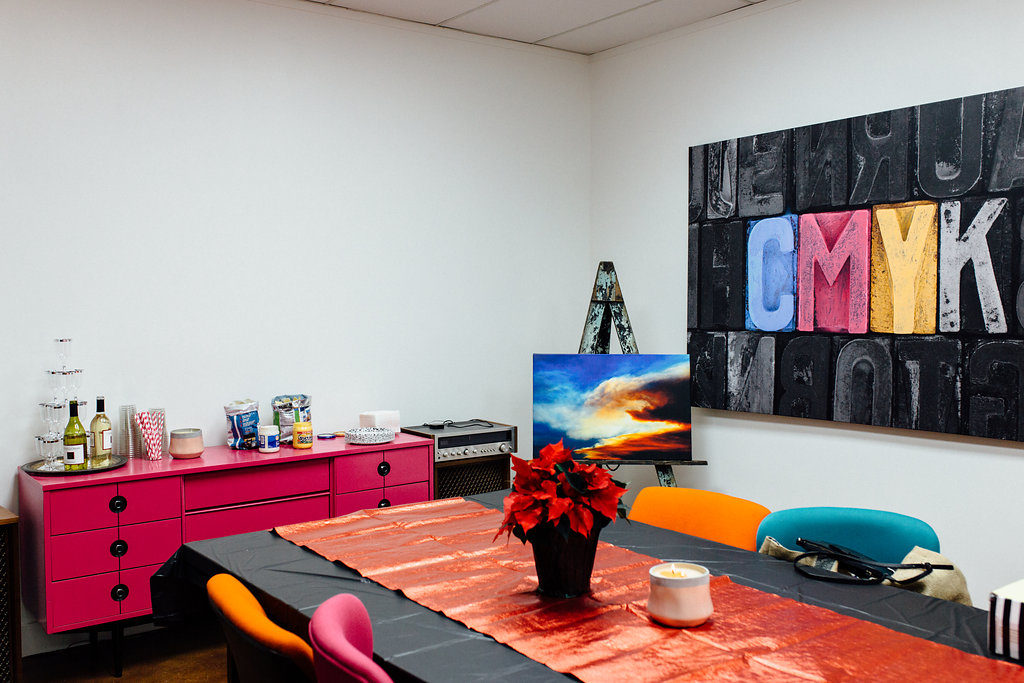
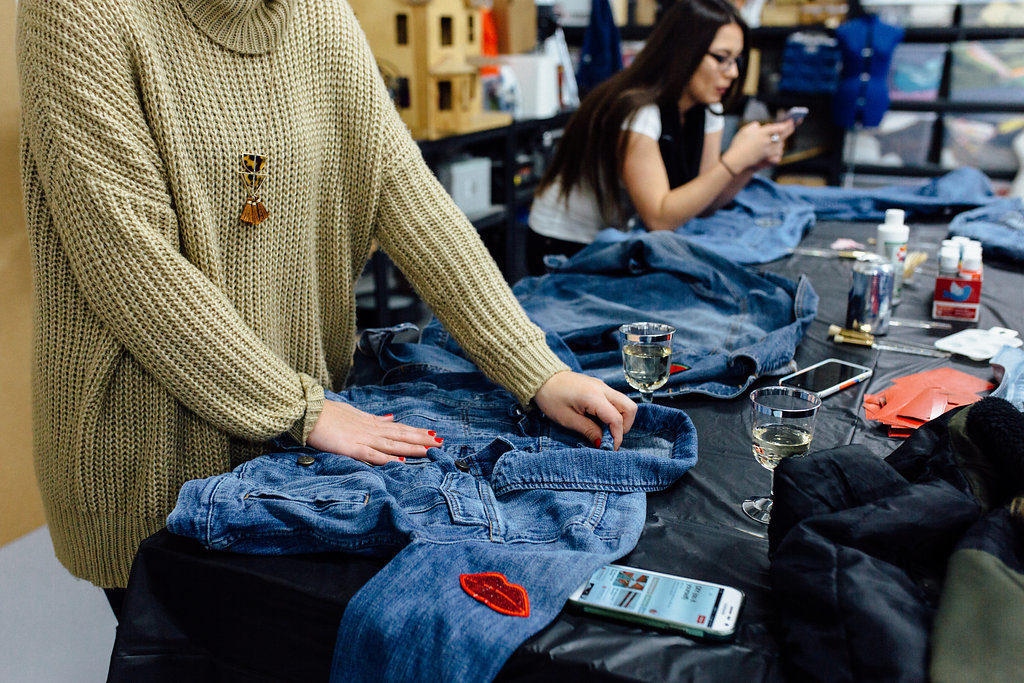
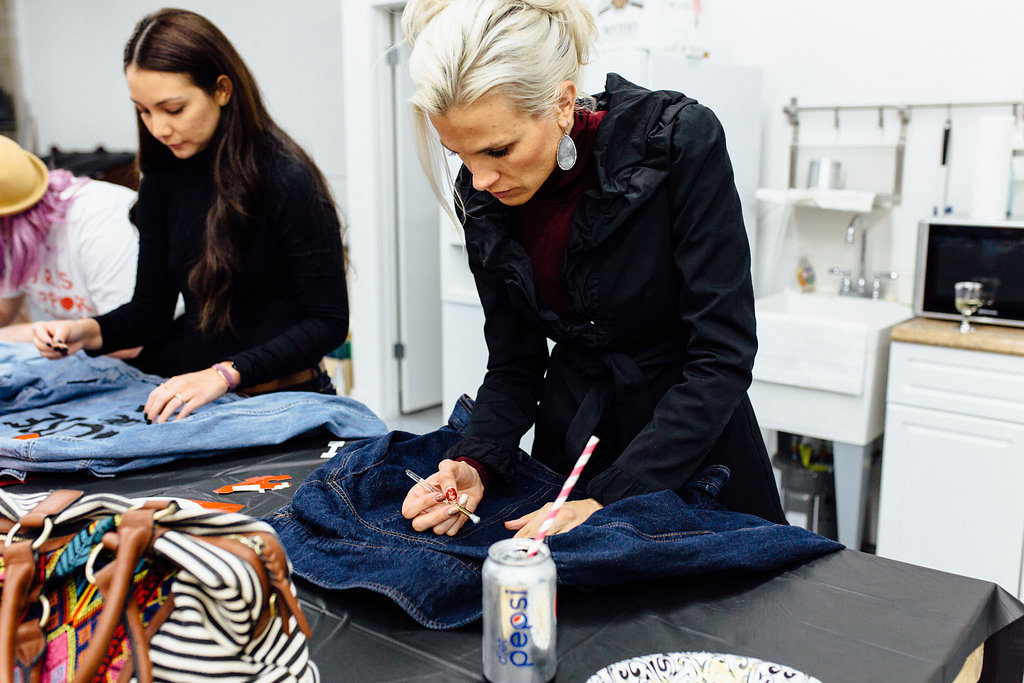
Custom Canvas Prints was kind enough to allow us to use their space. They have beautiful rooms that are perfect for small events of 40 people or less. We spent most of our time in the workshop in the back. There are two huge tables that are used for putting canvases together. This is where we did our jackets. Custom Canvas Prints has these adorable vintage couches that I just want to take home!
Unfortunately, things got a little crazy when 30 minutes before the party was to start, our food caterer fell through. I was a nervous wreck because I had driven 20 minutes in traffic to get the Freebirds World Burrito chips, salsa, guacamole, and mini burritos. After talking to the staff there and they had zero knowledge of the catering order, I called the owner that I had spoken to about the order. The phone kept breaking up, I was nervous people were arriving at my party, so I finally left. Needless to say, I won’t be using them to cater for an of my parties in the future.
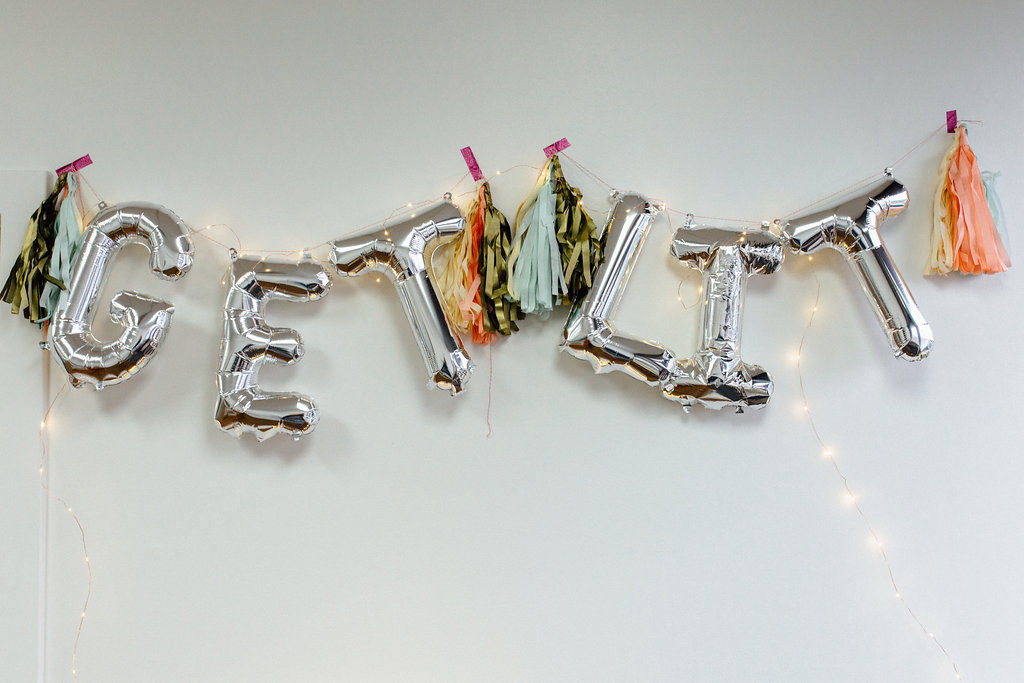
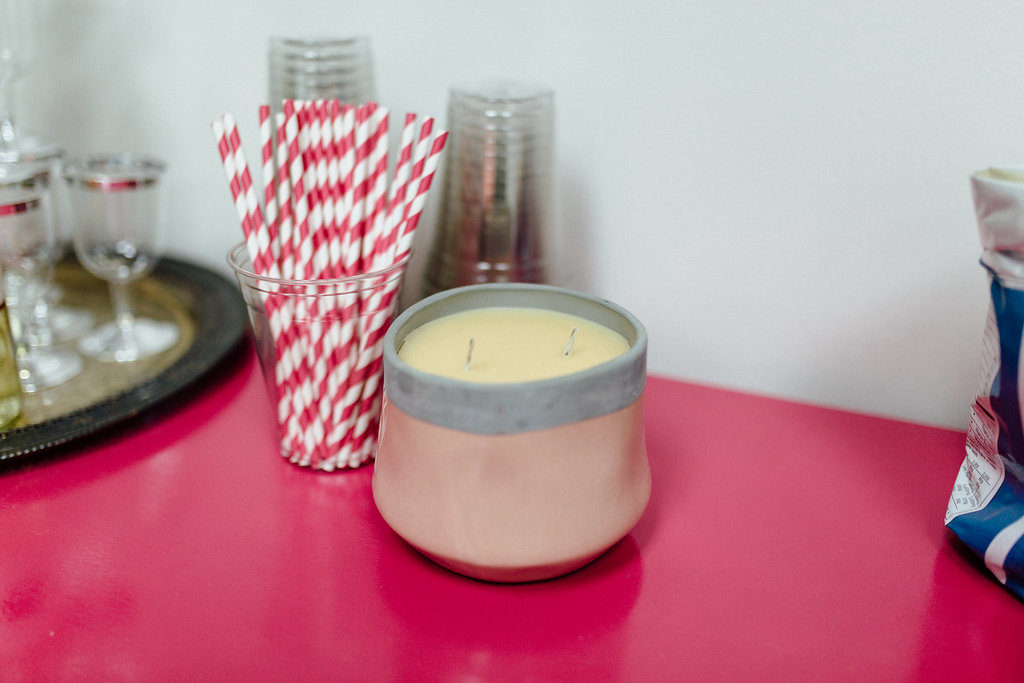
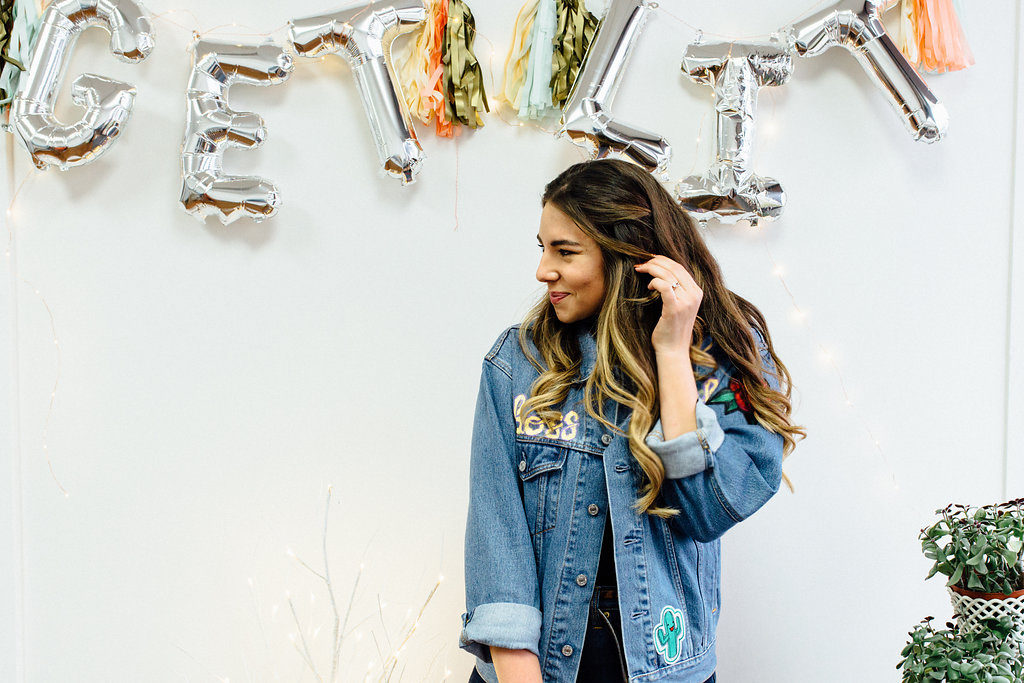
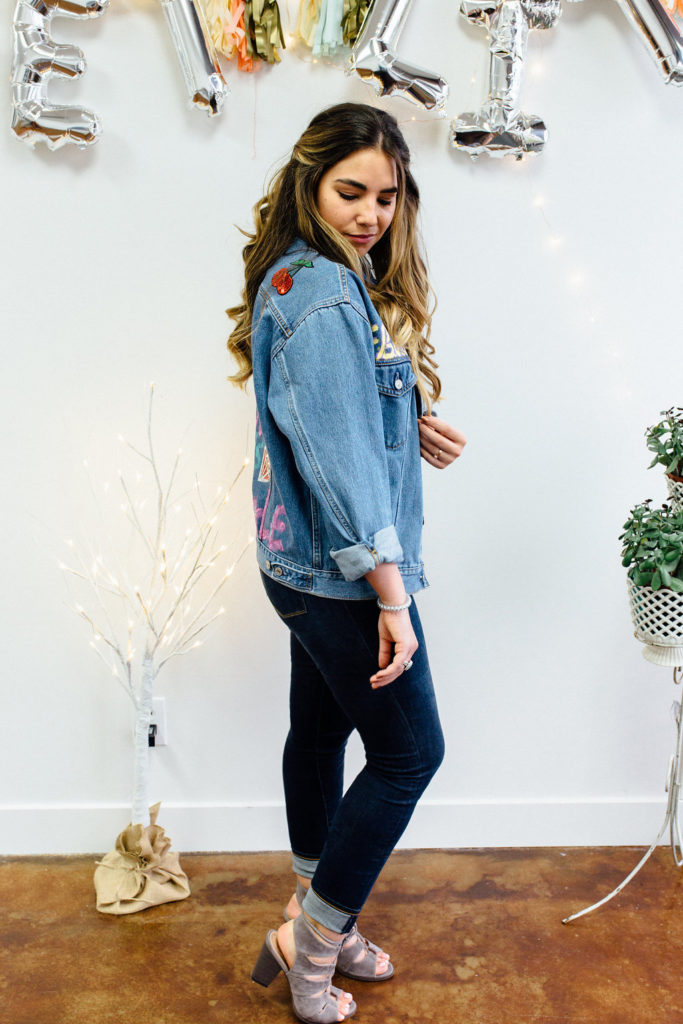
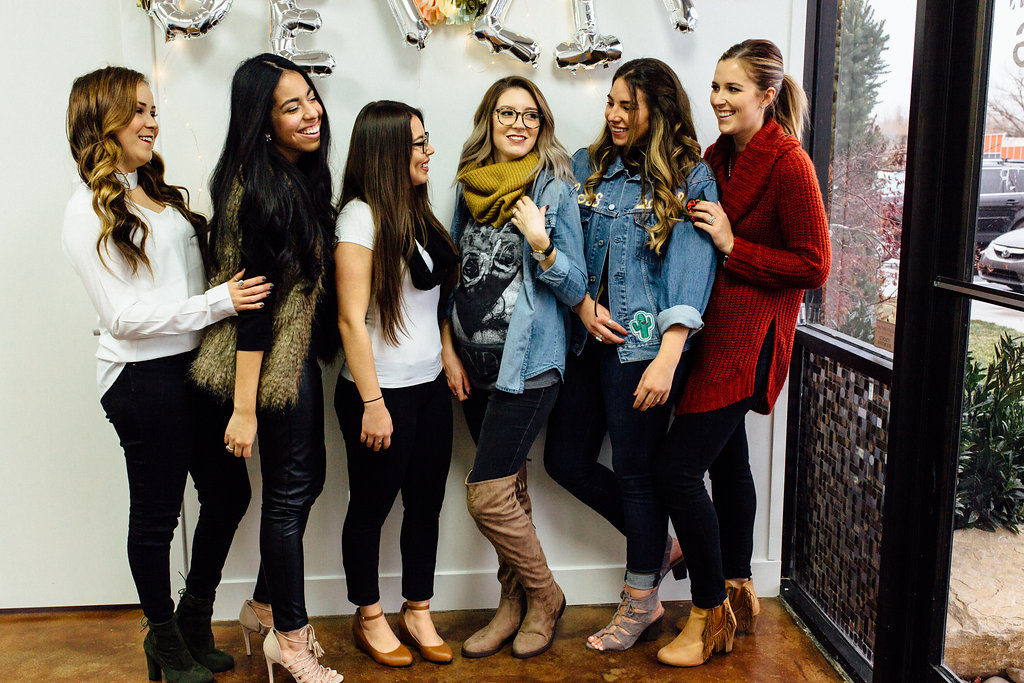
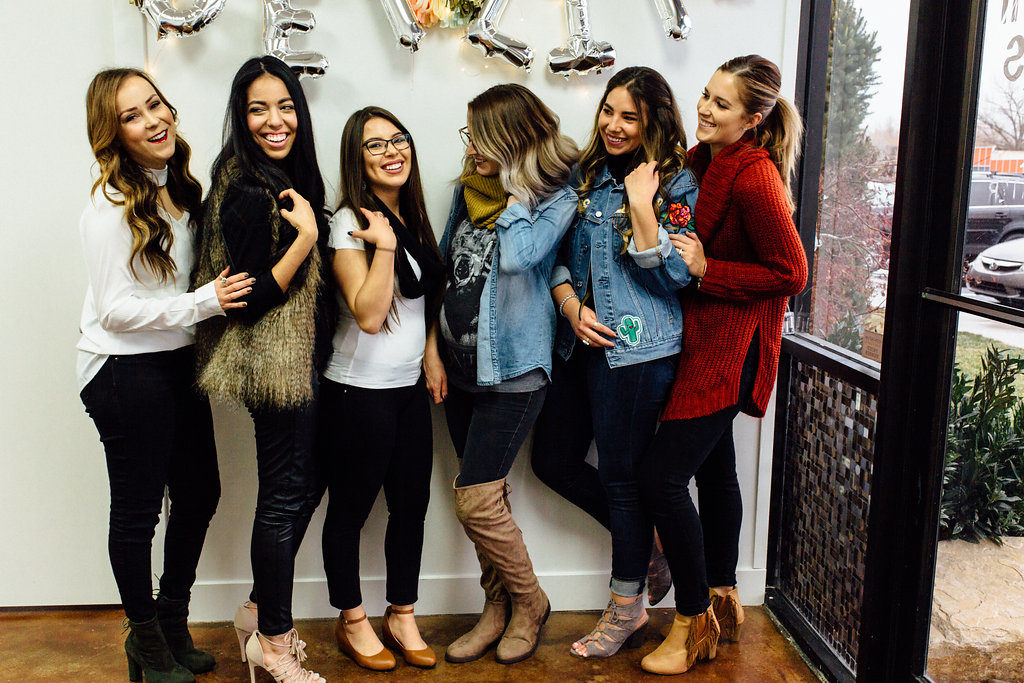
After rushing to the gas station and paying for over-priced chips and salsa, I finally arrived back at the party, just in time. Luckily, we already had the decorations up, including the fringe party banner, Get Lit balloon letter sign, and the candles from Bridgewater Candle Co. It was easy to decorate because Custom Canvas Prints is cute already!
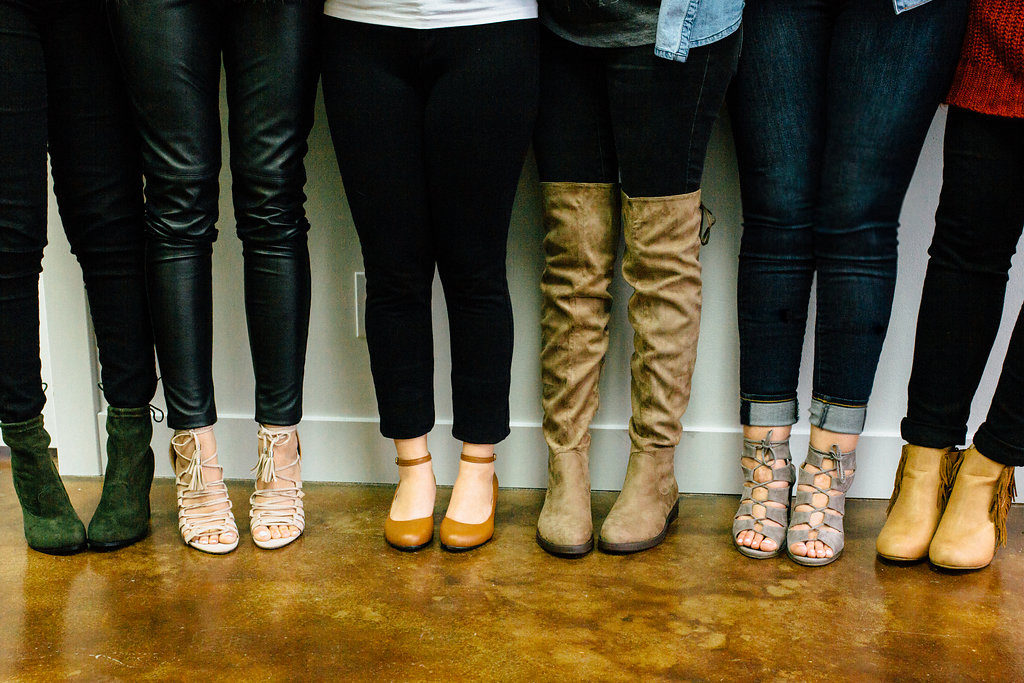
It was fun to collaborate with Chase and Chloe Shoes; 5 other girls and I were able to wear their shoes and take photos of us wearing them at the event! You have seen me wear Chase and Chloe in this Christmas outfit post, in this urban style outfit, and in this holiday wear outfit post. Their shoes are so affordable!
CLOTHING
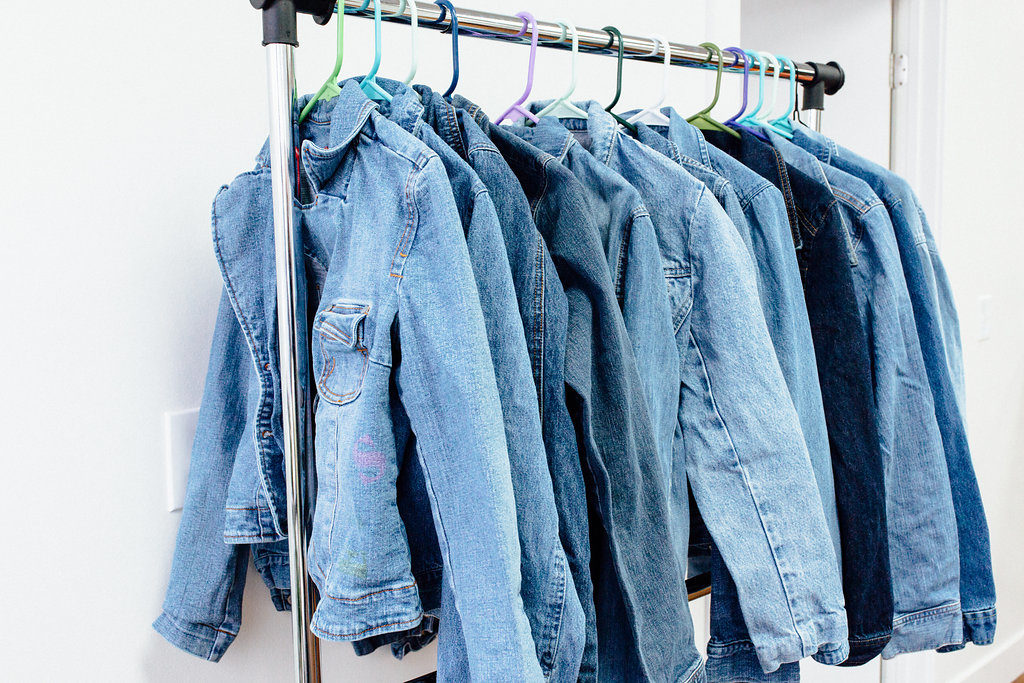
Jackets were all thrifted
Shoes: Chase and Chloe Shoes c/o
DECOR



Lexi
January 3, 2017This is WAY too cool! I totally want to throw a party like this now. Happy blogiversary!
xx Lexi, Glitter, Inc.
lauryncakes
January 3, 2017Thank you! You should! Maybe yours will go more smoothly 😉
Amanda John
January 3, 2017What a fun party! I've been blogging for three years now, too. Congrats!
http://strawberrychicxo.blogspot.com/2017/01/reflecting-on-2016-and-goals-in-2017.html
lauryncakes
January 3, 2017Yay! That is amazing! Good for us.
Where your heart is now
January 3, 2017Omgoshhhhhh!!! This is literally the coolest idea ever! I'm obsessed. What a great idea. Happy bloganniversary babe! XO
lauryncakes
January 3, 2017Thank you thank you!!! It has been a long journey!
Two Peas in a Prada
January 3, 2017Happy blogiversary!! This looks so fun!! XooX
lauryncakes
January 4, 2017Thank you! It was a blast
Laura Beverlin
January 3, 2017Congrats girly! This looks like SO much fun!!
xo,
Laura
Styled Adventures
lauryncakes
January 4, 2017Thank you!!! Now here's to one more year.
Bella B
January 3, 2017Congrats girl!!! this sounds and looks so fun!
lauryncakes
January 4, 2017Thank you!!! It was a ton of fun
Krista Williams
January 3, 2017Love these so much! I'm SO into it!!
xoxo
Krista
http://www.hundredblog.com
lauryncakes
January 4, 2017You're so cute!
Lavenda Memory
January 3, 2017What an awesome idea! Love this.
lauryncakes
January 4, 2017Thank you L!
Nina Lacher
January 4, 2017Such a fun idea! Love it!
Xo, Nina
Law of Fashion Blog
lauryncakes
January 20, 2017Thank you Nina!
Audrey Stowe
January 4, 2017What a fun project to do with girlfriends! My friends and I would be ALL over this haha. Love your jacket!
lauryncakes
January 20, 2017You should totally have a girls night!
Larissa @ Living in Color | A Lifestyle Blog
January 4, 2017Ok coolest tutorial ever! <3
xoxo, L
livingincolorblog.com
lauryncakes
January 20, 2017Thank you!! It was so much fun.
K. Brooke Webb
January 6, 2017Congrats on your blog anniversary! I also love this idea…patches are so big right now and it's fun to say that you designed your jacket! 😉
xo,
Brooke || http://www.kbstyled.com
lauryncakes
January 20, 2017Right?! It was a blast and we all felt accomplished.
The Cheap Place
February 9, 2017Wonderful and decent post, I found this much helpful, as to what I was exactly searching for patches tutorial. Thanks for such post and keep it up.
Calvin F.
June 19, 2017Fancy and nice creative tutorial. I like that get lit ballon